
Add a Google Maps API key to your store locator
Create a Google Cloud project, enable the Maps APIs your locator uses, restrict the key to your store and paste it into CBmap.
On this page
CBmap Store Locator shows your stores on Google Maps using your own Google Maps API key. Without a key, the map can't load on your storefront. Creating a key takes about 10 minutes and is free to start.
1. Create a Google Cloud project
- Sign in to your Google account (opens in a new tab), or create one (opens in a new tab) for free.
- Open Google Maps Platform – Get started (opens in a new tab).
- When asked which products you need, choose Maps and Places, then click Continue.
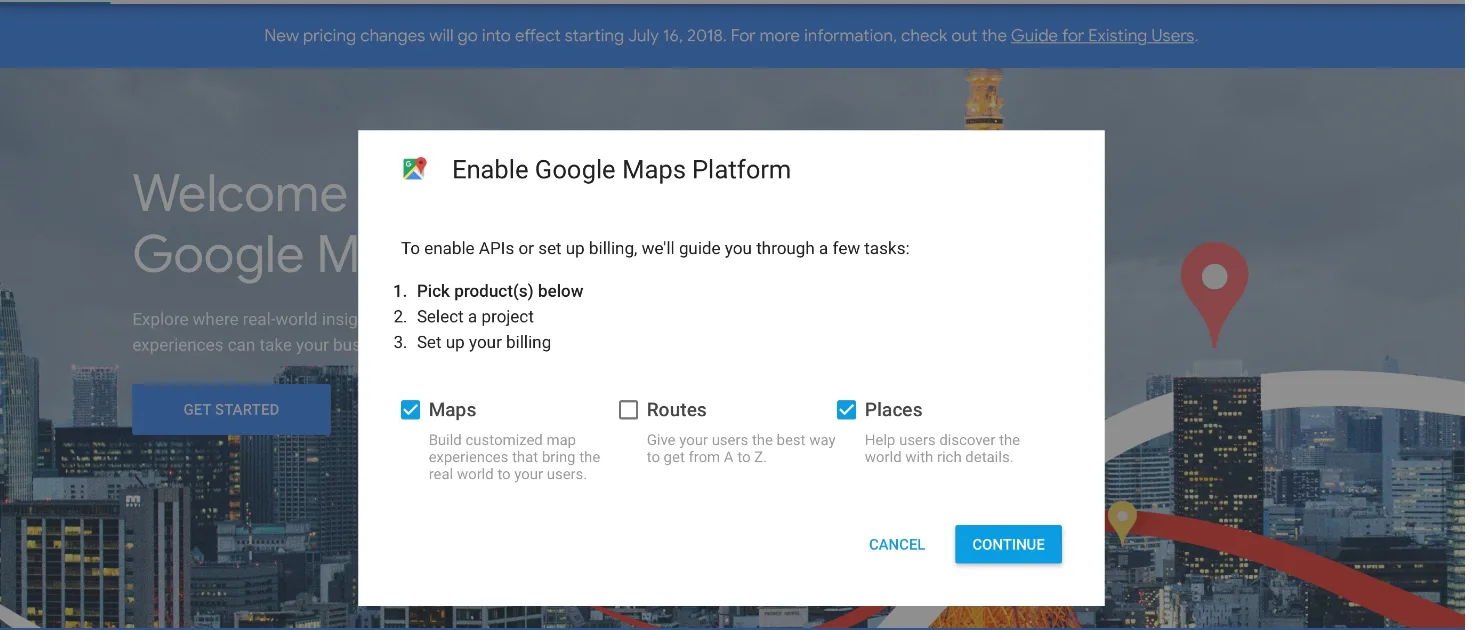
- Create a new project, give it any name you like, and click Next.
2. Set up billing
Google requires a billing account before it issues an API key, even if your usage stays within the free allowance.
- If you don't have a billing account yet, click Create billing account.
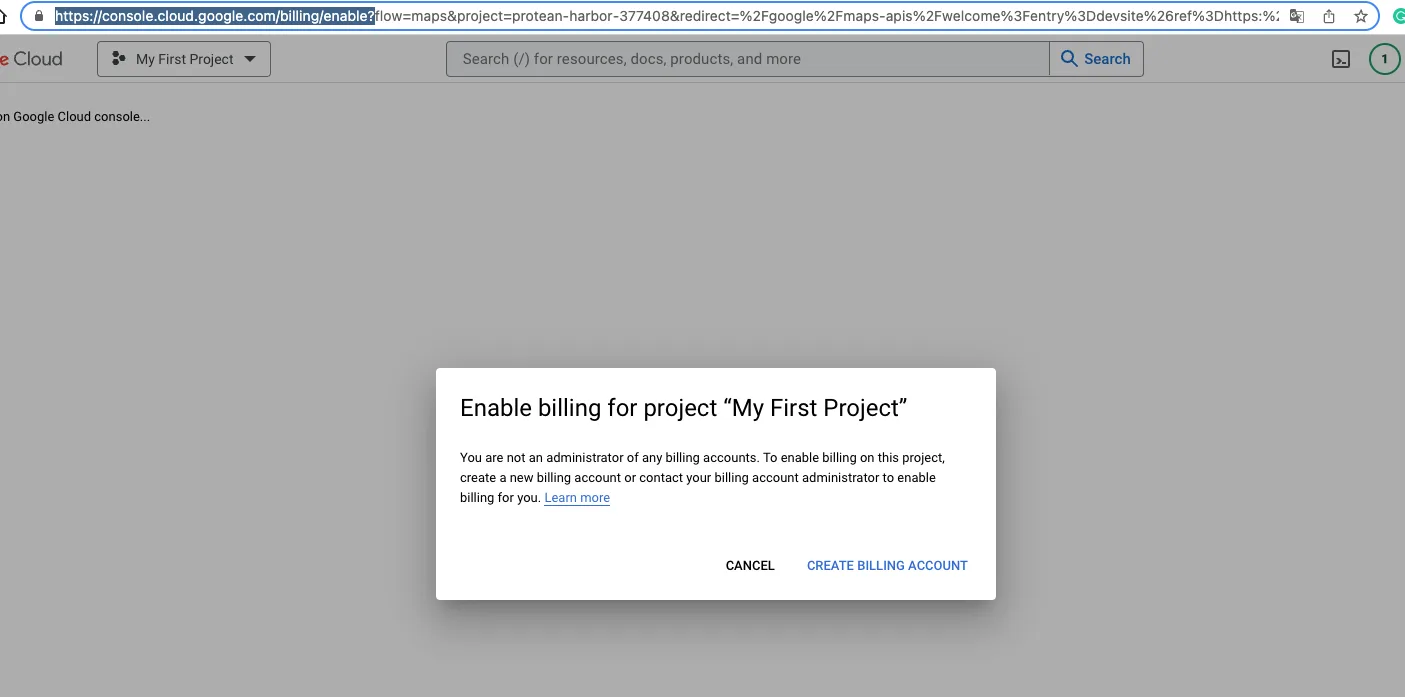
- Choose your country, accept the Terms of Service and click Agree and continue.
- Enter your details as an individual or a business, add a payment method and finish the sign-up. You'll land on the Google Cloud console.
3. Enable the four Maps APIs
Your store locator needs four APIs: Maps JavaScript API, Geocoding API, Geolocation API and Places API.
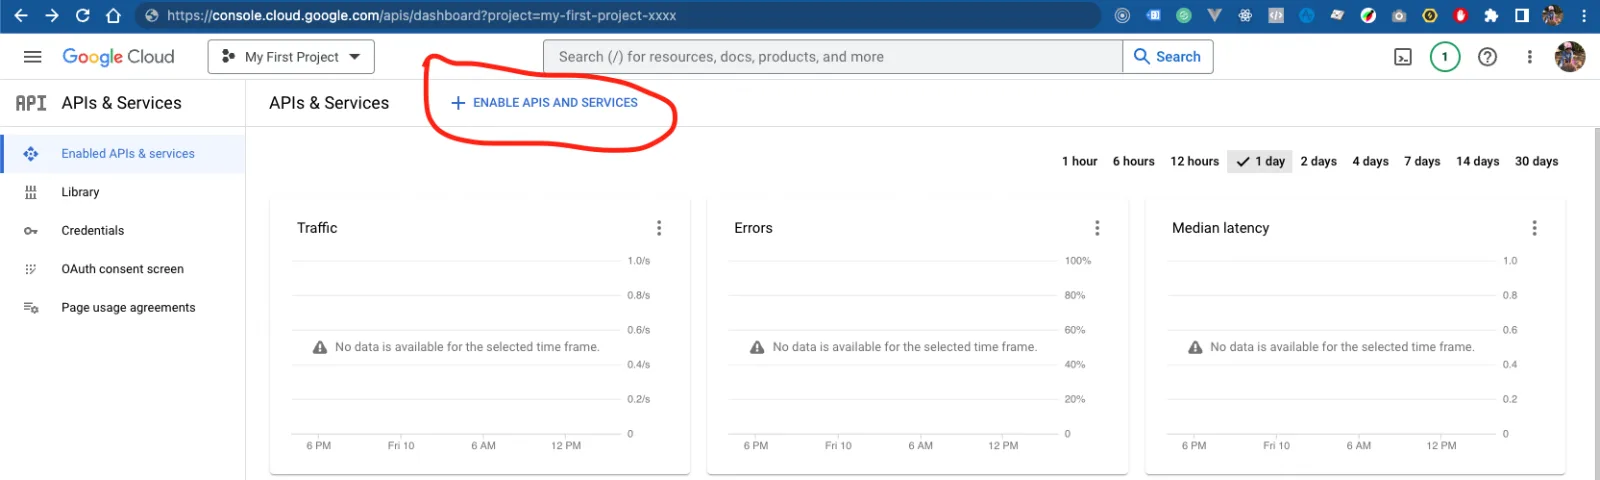
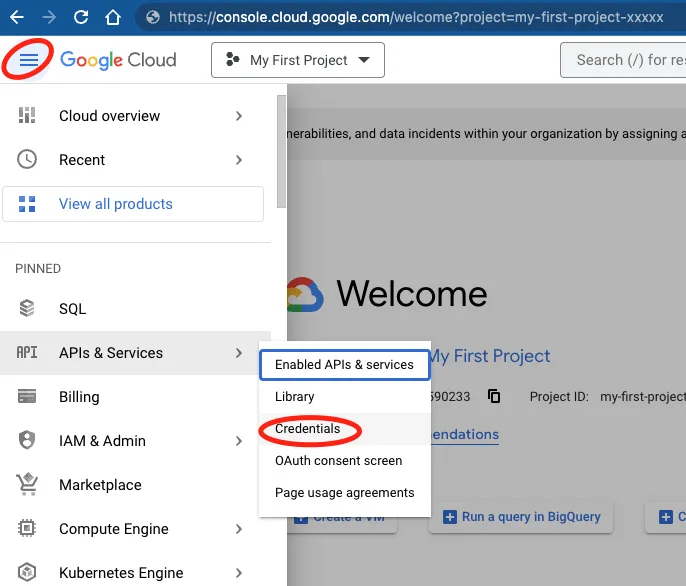
- Open the menu in the top-left corner, choose APIs & Services and click Enable APIs and services.
- Search for Maps JavaScript API and open it.
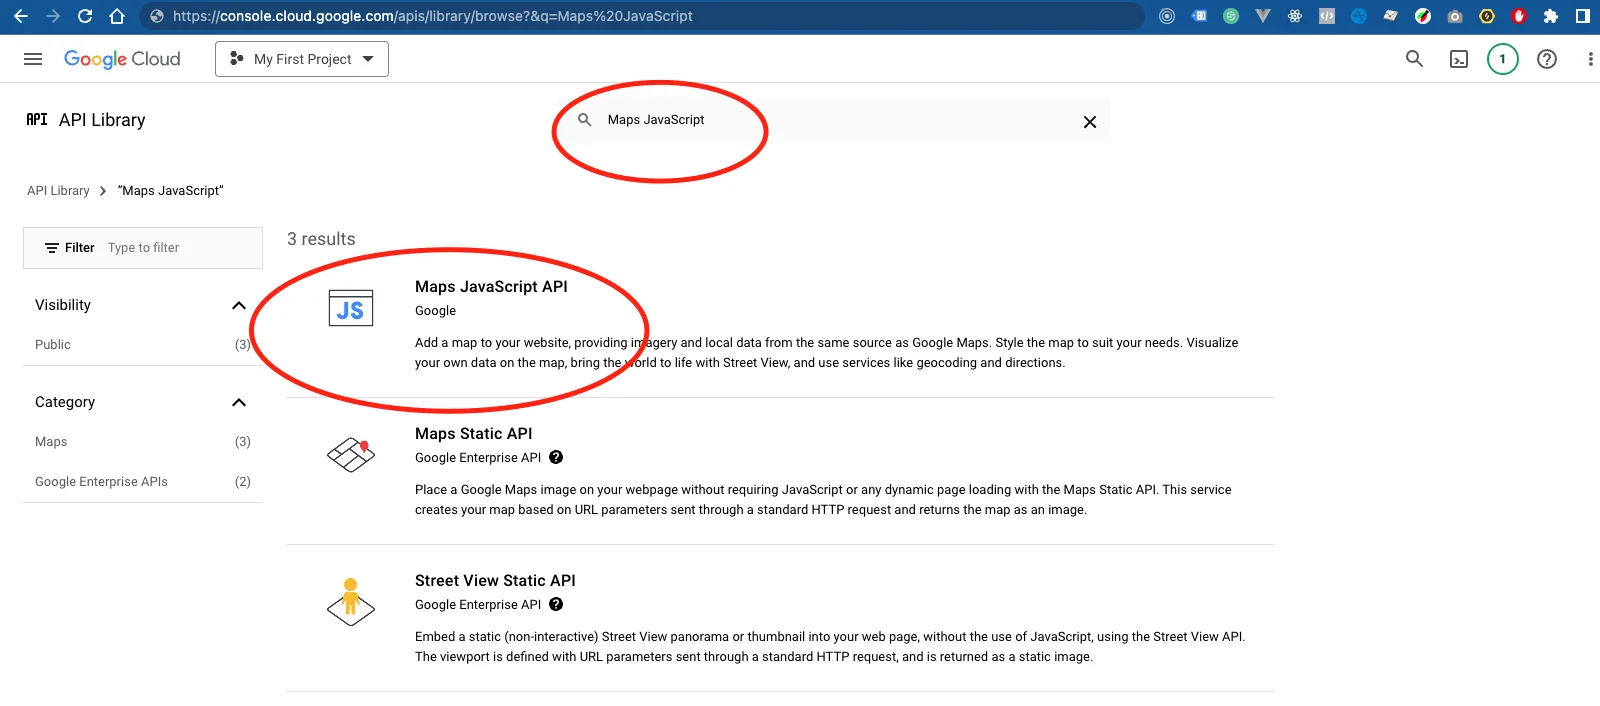
- Click Enable.
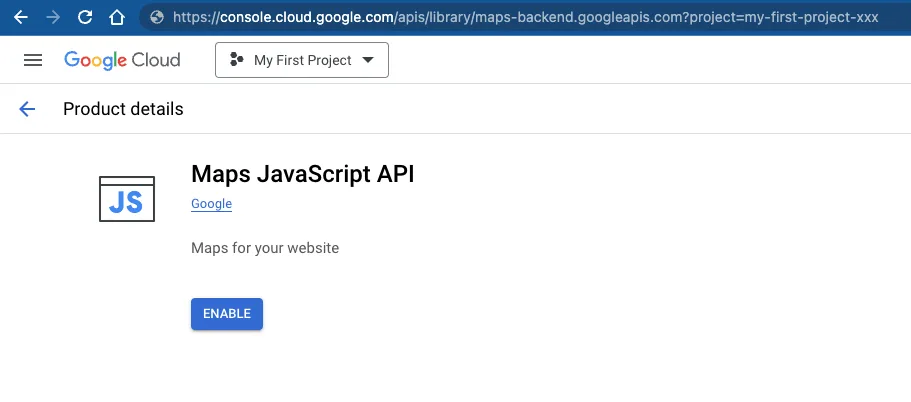
- Go back to the library and repeat for the Geocoding API (opens in a new tab), the Geolocation API (opens in a new tab) and the Places API (opens in a new tab).
All four APIs now appear under Enabled APIs & services.
4. Create and restrict your API key
- Open the menu, choose APIs & Services and click Credentials.
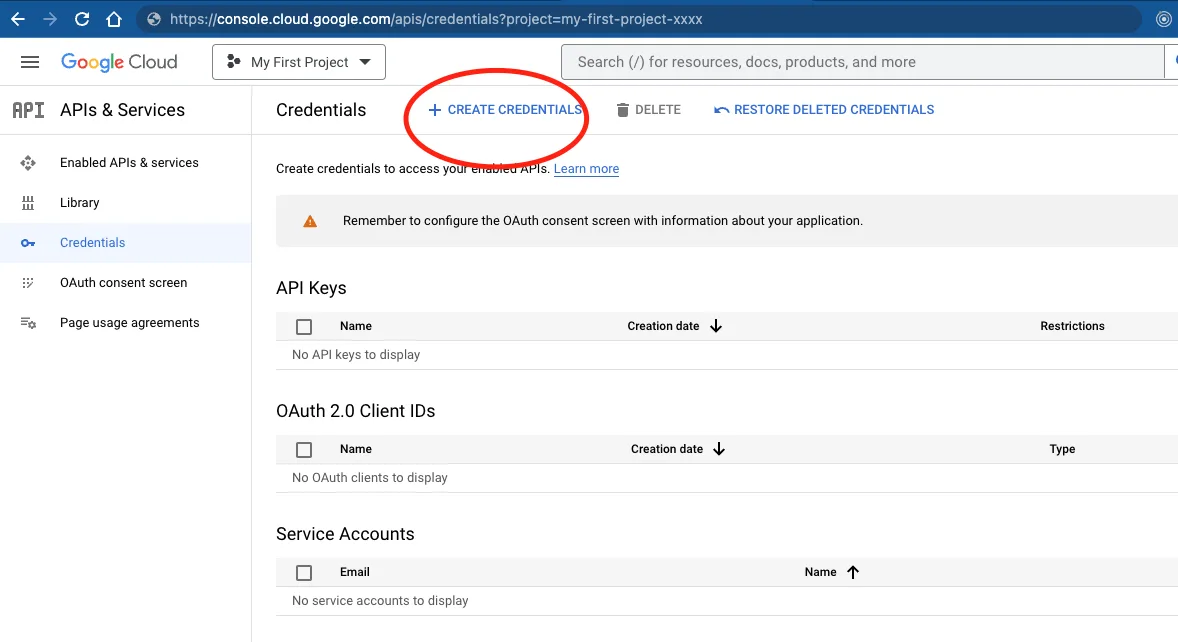
- Click Create credentials and choose API key.
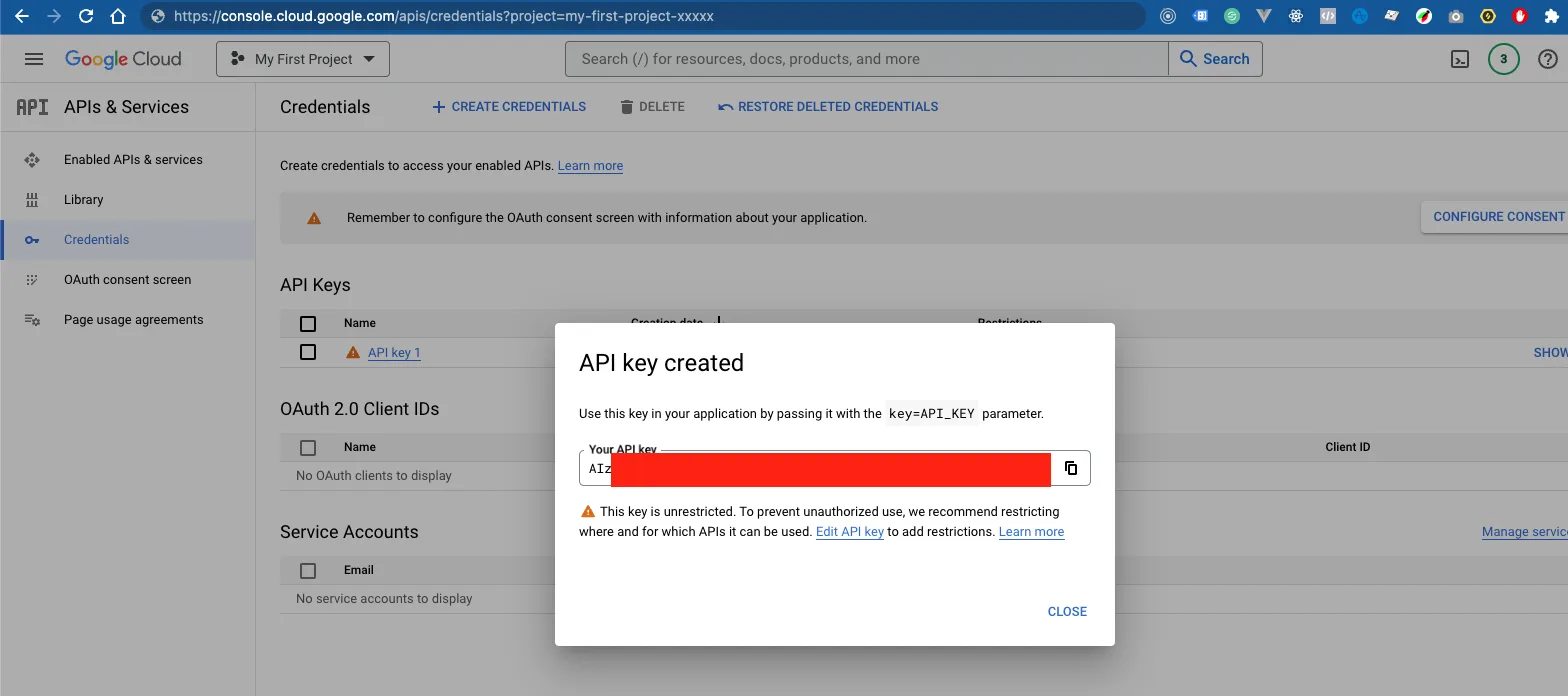
- Your new key appears in a dialog. Before using it, restrict it so no one else can: open the key's settings.
- Under Application restrictions, choose Websites and add your store's domain in this format, with an asterisk at the start and
/*at the end:*yourstore.com/* - Also add these three entries, so the CBmap preview works and our team can help you troubleshoot:
*cleverbooster.com/*
*myshopify.com/*
*shopify.com/*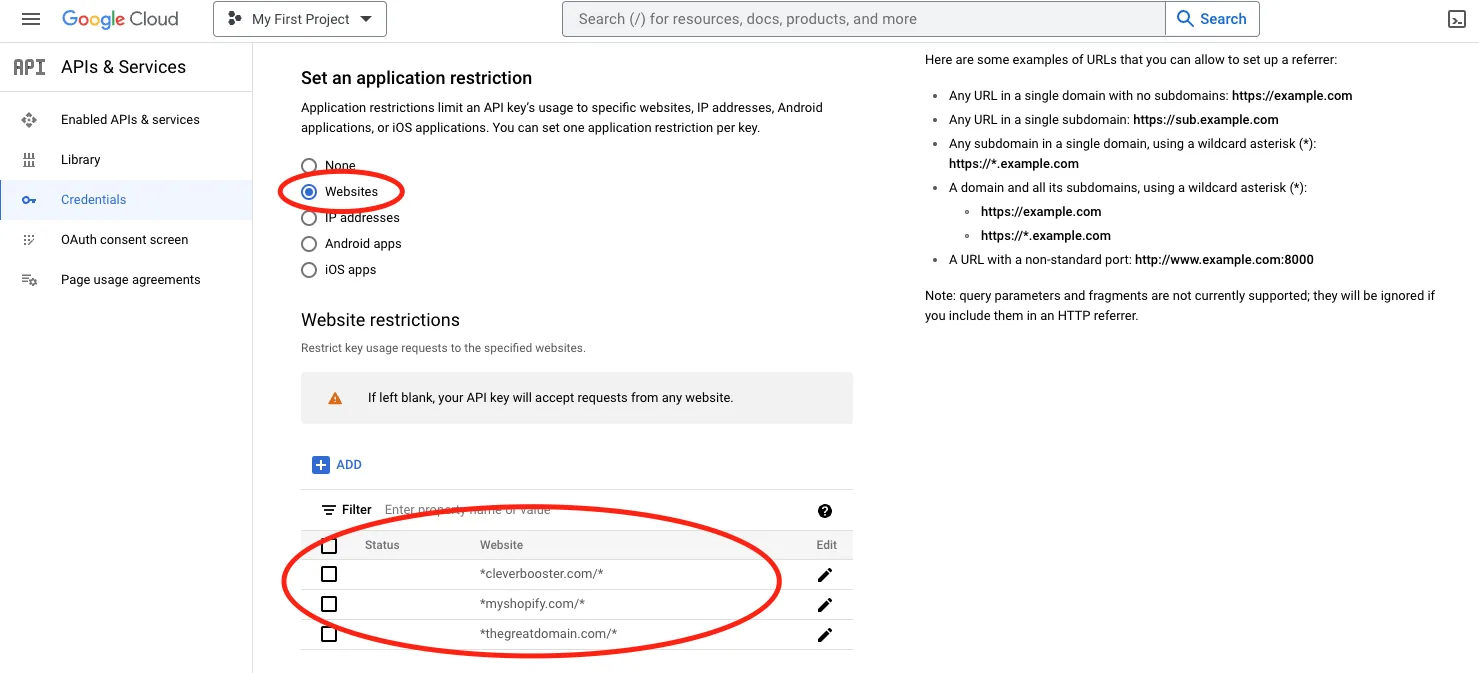
- Click Save, then copy the key.
5. Add the key to CBmap
- In CBmap Store Locator, open Settings → Map keys.
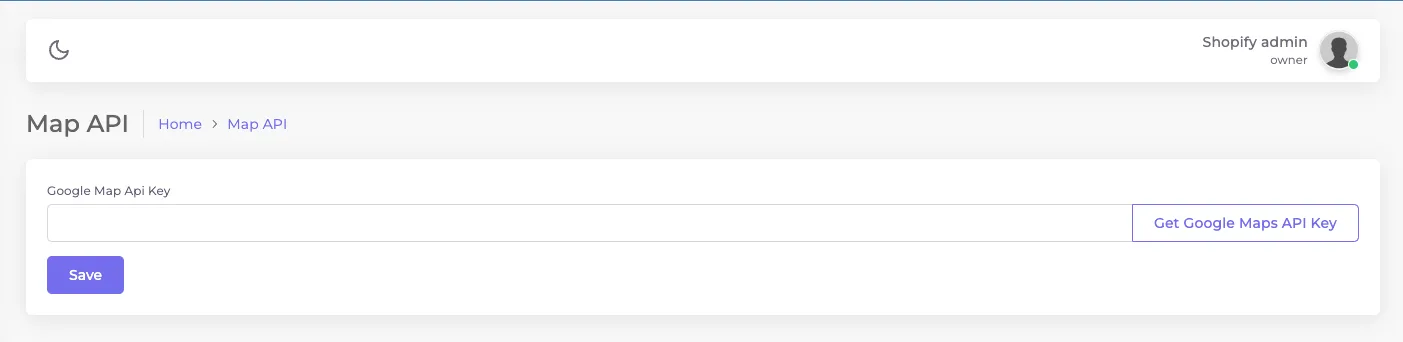
- Paste the key into the Google Maps field and click Save.
That's it. Open your store locator page to check that the map loads.