
Install Form Builder Pro on your Shopify store
Add the app from the Shopify App Store, choose a plan, create your first form and place it on your theme.
Get your first form live on your Shopify store in a few minutes: install the app, create a form, style it, and place it on your theme.
Install and create a form
- Install CB ‑ Advanced Form Builder Pro (opens in a new tab) from the Shopify App Store.
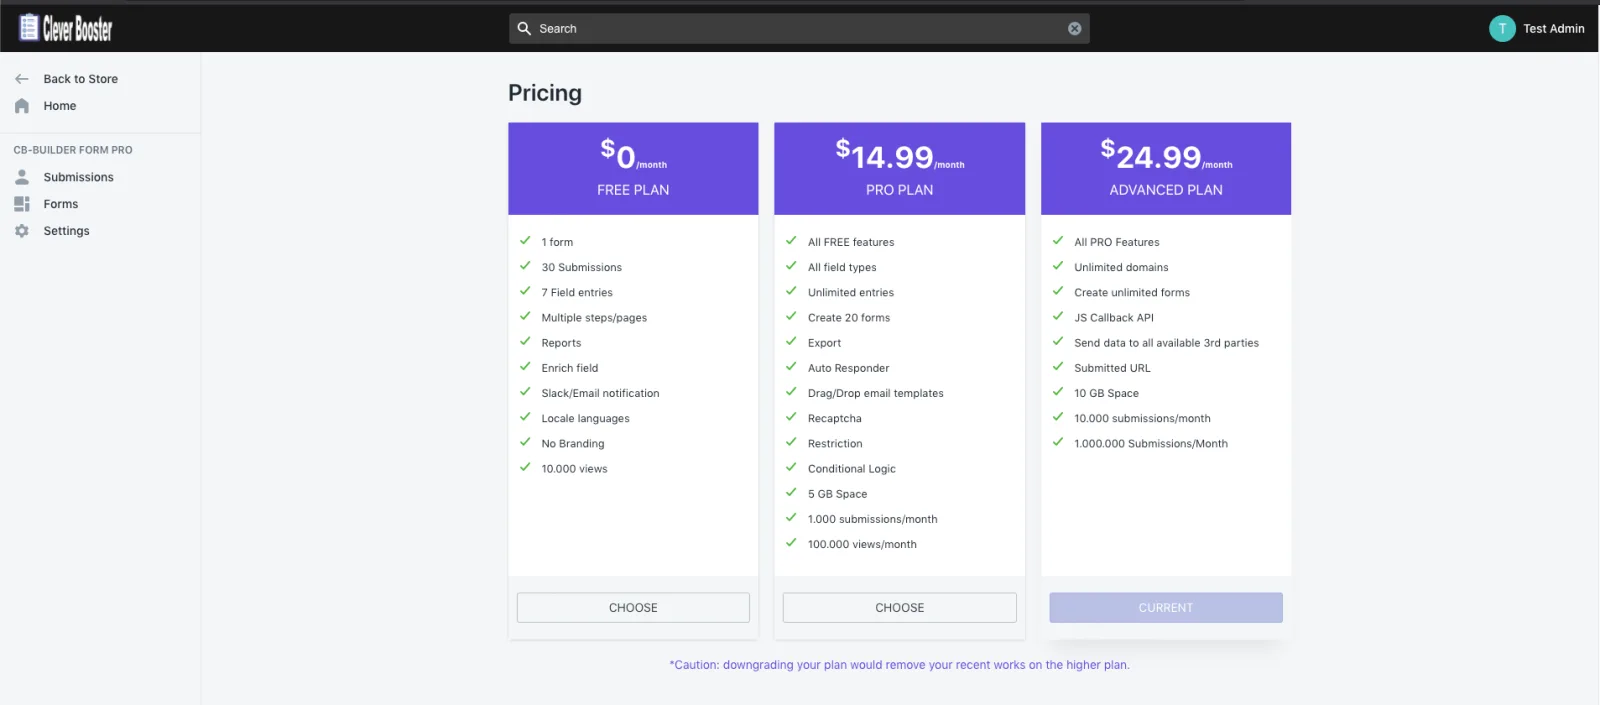
- Choose a plan. You can start on the Free plan and upgrade later.
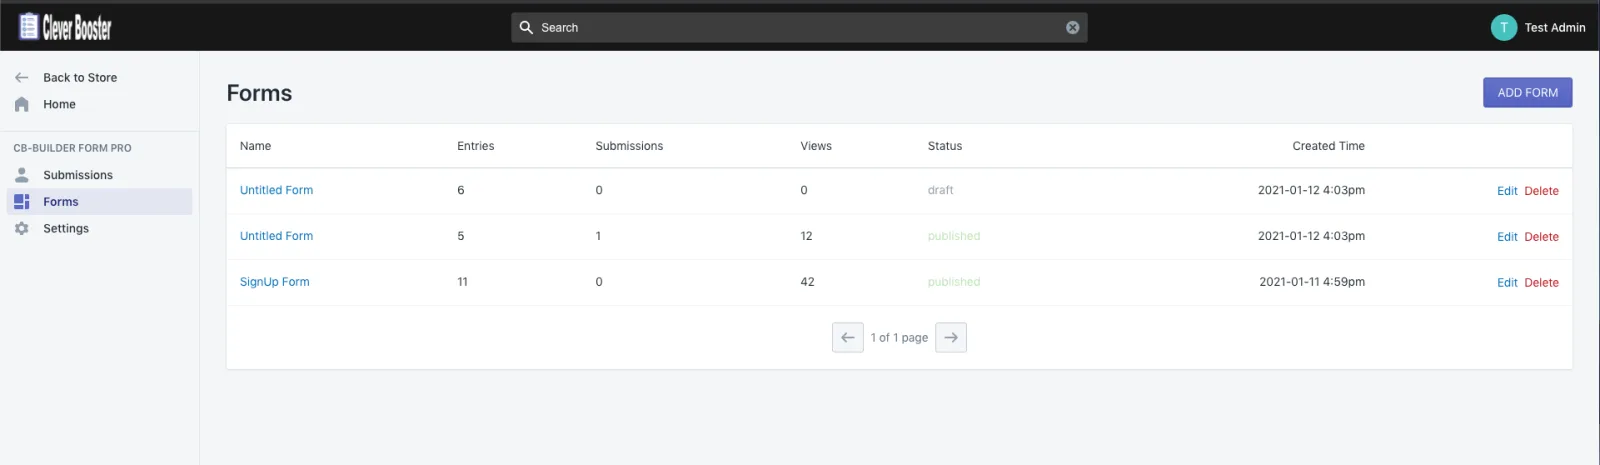
- Open Forms and click Add form.
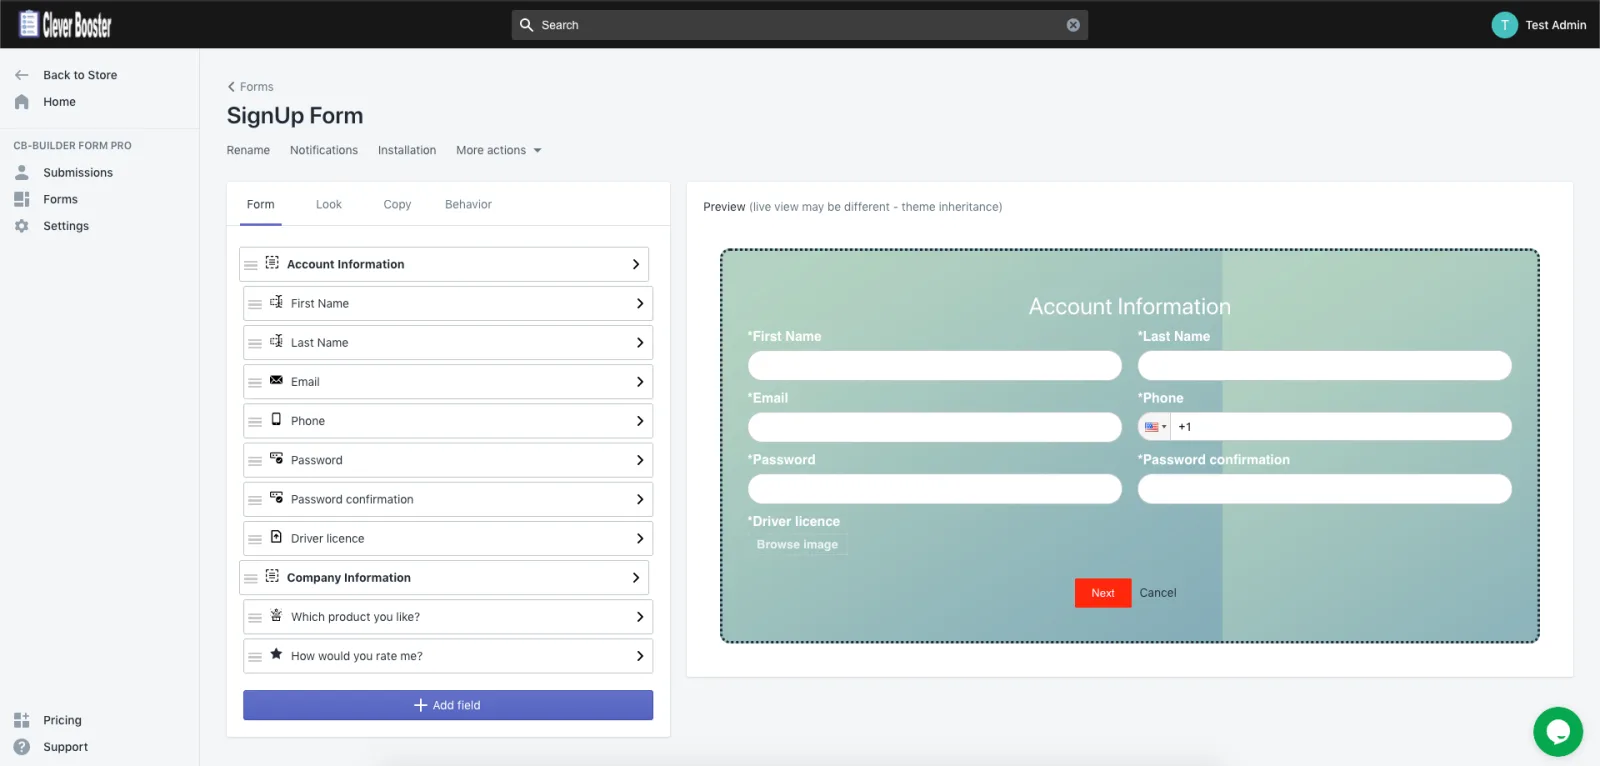
- Adjust the fields, text, styles and behaviour in the form editor. The preview on the right updates as you go.
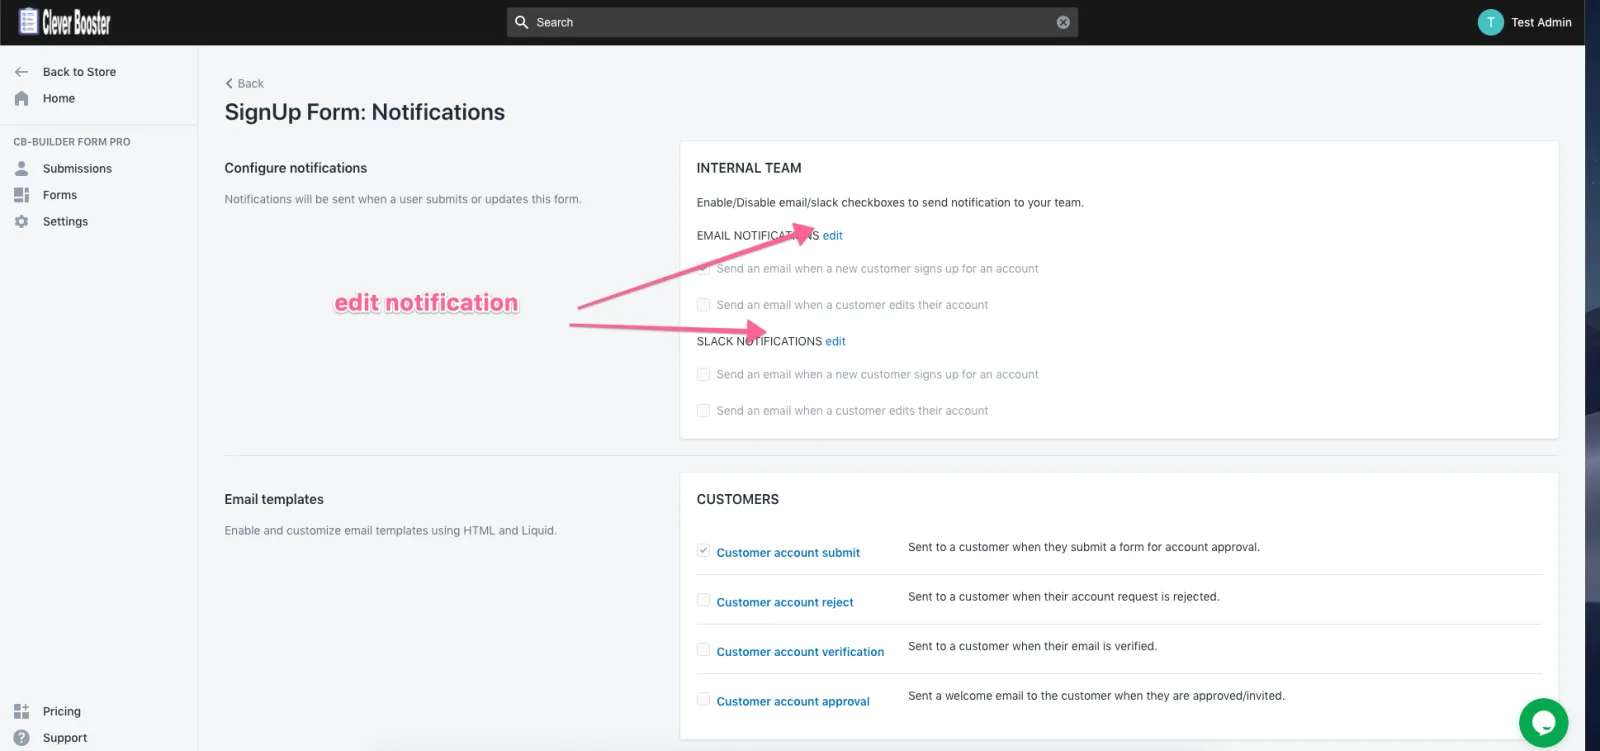
- On the Notifications tab, choose who is told about new submissions, by email or Slack.
Place the form on your theme
- Open the form's Installation tab, select your theme and the pages where the form should appear, and click Install.
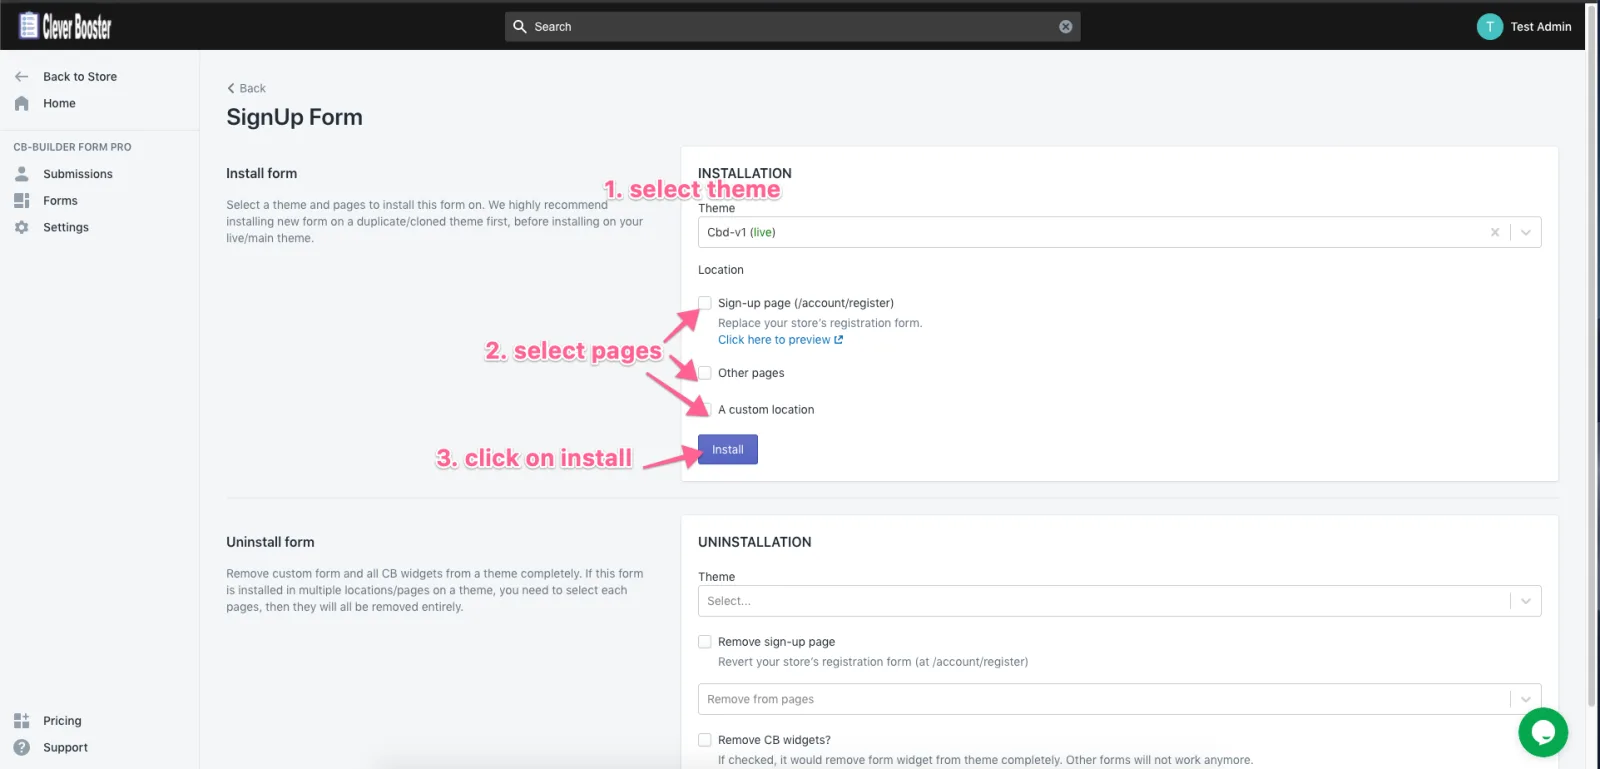
- Click the preview link to check the form on your store.
Your form is live. Next, you might want to send emails from your own address or add reCAPTCHA. For a longer walkthrough, see the setup guide.